1. Scout out the location first. If possible, go past during the day. Try to get some idea of where the sun will rise or set, and where you might be able to stand to get a good view. Look where the river or lake lies (reflections). Look out for trees (good for framing, foreground interest, silhouettes). Where will other people be?

2. Arrive early, stay late. Best light quality and colour is usually up to half an hour on the dark side, and quarter of an hour on the daylight side. Yes, that does mean you might have to get out of bed an hour or two before sunrise! (It’s so worth it.)

3. Take your tripod. Light levels will be low. You could hand-hold at a higher ISO, but then you’ll get more image noise. (Me, I’m not a big fan of post-processing to get rid of image noise.)
4. Check camera settings. First, exposure. Your camera is going to try to make the scene a dull grey on average. The sun is very bright. Before it rises (or after it sets), light level will be low—your camera may not even be able to focus, and it is likely to over-expose. But if the sun is in the frame, expect the automatic setting to give you a dark, dull image with the sun a bright spot. To fix this, you have three choices: (a) choose “Sunset” mode if your camera has one; (b) use exposure compensation to modify what the camera thinks is right; or, (c) switch to manual exposure and adjust until it looks good on the preview screen. (I just love digital photography! With film you had to bracket like mad and hope something worked.) As for white balance, choosing “Cloudy” or “Shade” will make the result even warmer than real life.
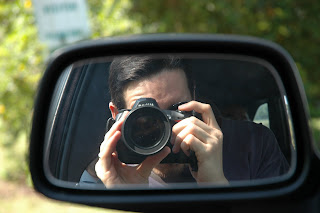
5. Look behind you. You never know what (or who) you might see, where no-one else is looking.


This work by Ian Bailey-Mortimer is licensed under a Creative Commons Attribution-Noncommercial-Share Alike 2.5 Australia License.
Permissions beyond the scope of this license may be available by request.

